


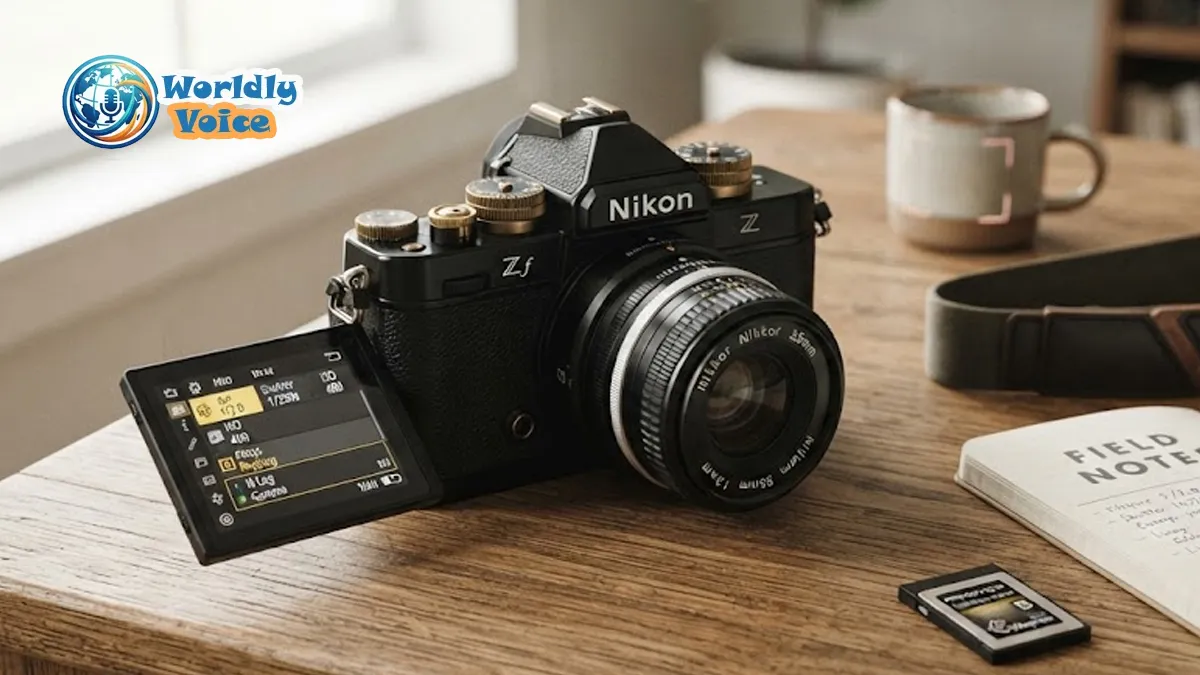
If you’ve been searching for a nikon zf pocket guide, you’re probably in the same place I was when I first picked up the Nikon Zf: impressed by the retro dials, slightly overwhelmed by the menu depth, and eager to make the camera feel faster in real-world use. The Zf is one of those cameras that rewards setup. Out of the box, it’s excellent. Properly configured, it becomes personal.
I’ve used the Nikon Zf in street scenes, low-light walks, portraits, and short-form video work, and one thing became clear fast: this is not a camera you want to leave on default settings. It has the soul of an analog Nikon and the brains of a modern mirrorless body. That mix is part of its appeal. It’s also why a practical nikon zf custom settings guide matters so much.
In this field-focused walkthrough, I’ll cover the nikon zf menu setup and configuration choices that make the biggest difference, the best autofocus settings for nikon zf, a smart custom button layout, and how I approach manual lenses, N-Log, and everyday usability. If you also enjoy tactile camera design, you may appreciate how this philosophy overlaps with our Fujifilm X-T5 Pocket Guide, though Nikon’s implementation feels more focused on hybrid speed than pure nostalgia.
1. Why the Nikon Zf needs a deliberate setup
The Nikon Zf looks simple. That’s deceptive.
Yes, it has physical dials for shutter speed, ISO, and exposure compensation. But underneath that classic shell sits a deep software layer: subject detection, 3D tracking, autofocus tuning, picture controls, stabilization behavior, and video profile options. In my experience, the camera only starts to feel truly fluid once those systems are aligned with how you shoot.
A strong nikon zf field guide and tips approach starts with one principle: reduce friction.
That means:
- fewer menu dives
- fewer AF-area choices you never use
- faster access to tracking and profiles
- a cleaner workflow for both photo and video
I’ve found that this camera especially shines when every button has a job. Once that happens, the Zf stops being “a beautiful camera with deep menus” and becomes a fast, instinctive tool.
2. Nikon Zf menu setup and configuration that actually matters
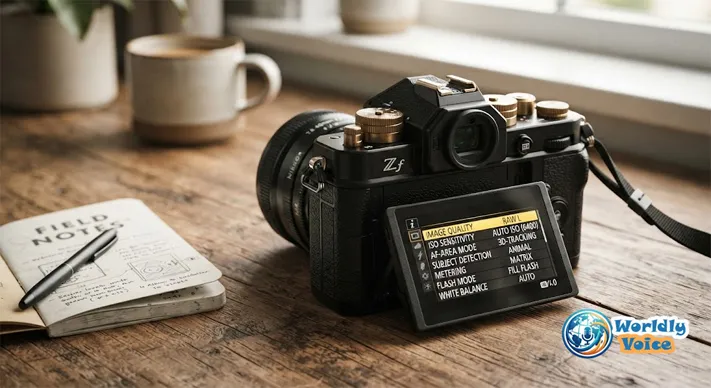
A good nikon zf menu settings guide should not dump every menu item on you. It should focus on the settings that change your hit rate, image quality, and speed in the field.
Photo shooting menu essentials
Here’s where I start for still photography:
- Image Quality: RAW, ideally lossless compressed
This gives the best balance of file flexibility and storage efficiency. - ISO Sensitivity Settings: Turn on Auto ISO Sensitivity Control
I usually set:- base ISO: 100
- max sensitivity: 6400 for daytime/documentary work
- max sensitivity: 12800 or 25600 for low-light events
- minimum shutter speed: around 1/250s for general walkaround shooting
- White Balance: Auto works well, but I often save a warmer preset for indoor ambient scenes
Nikon’s color science is generally reliable, especially for skin tones. - Picture Control: Standard or Neutral for stills preview
Even when shooting RAW, preview style affects what you see in the EVF and LCD.
The Nikon Zf’s native ISO range runs from ISO 100 to 64,000, expandable beyond that. In practice, I try to stay between ISO 100 and 6400 when I want the best balance of dynamic range and shadow recovery. Above that, it’s still usable, but the files start to lose some of that editing elasticity.
Build a faster custom menu
One of the smartest things you can do in your nikon zf menu setup and configuration is create a custom menu page for your most-used tools.
I recommend adding:
- Subject detection options
- Focus mode
- AF-area mode
- Focus peaking
- Silent photography
- Starlight View
- Video file type
- Picture Control / N-Log access
That one step saves time every single shoot.
Video setup and N-Log workflow
If you’re wondering how to use nikon zf camera settings for serious video, start with codec and monitoring.
For video, I usually set:
- Video File Type: H.265 10-bit
- Picture Control / Log option: N-Log when I need grading latitude
- View Assist: ON
- Frame rate: depends on delivery, but 24p or 30p for standard work, 60p for motion flexibility
If you want to learn how to shoot n log on nikon zf, the most important practical note is this: flat footage can look misleading on screen. Without View Assist enabled, it may appear dull or washed out, which can lead to exposure mistakes. I always turn View Assist on so I can judge contrast and skin tone more confidently while recording.
Nikon’s official guidance on log workflows is worth reviewing through the N-Log resource from Nikon USA.
3. Best autofocus settings for Nikon Zf in real shooting
The best autofocus settings for nikon zf depend on subject type, but some patterns hold up across nearly every genre.
The Zf inherits subject-recognition intelligence from Nikon’s more advanced mirrorless system. That’s a big deal. It gives this camera far more tracking confidence than its vintage-inspired exterior suggests.
My baseline autofocus setup
For moving people, daily photography, and travel, I use:
- AF mode: AF-C
- AF-C Priority Selection (a1): Release
- Focus Tracking with Lock-On (a3): 3 or 4
- Subject Detection: Auto for mixed scenes, or People when shooting portraits
- AF-Area Modes: limit choices to Single-point AF, 3D-tracking, and Auto-area AF
This is the core of my nikon zf autofocus configuration. It keeps the system responsive without letting the camera become erratic when something briefly crosses the frame.
Why AF-C Priority on Release works
Some photographers prefer focus priority because it feels safer. I understand that. But in fast real-world situations, I’ve found Release priority more dependable. It reduces hesitation. If the moment is there, the shutter fires.
That matters for:
- street scenes
- candid portraits
- children and pets
- moving subjects in uneven light
Subject detection: Auto vs specific subjects
Auto subject detection is convenient. But it is not always the fastest choice.
If I know I’m photographing people only, I switch to People. If I’m out with birds or animals, I lock that in too. Narrowing the task helps the camera commit faster. It’s a small change, but one I noticed immediately in keeper rate.
For Nikon’s broader autofocus philosophy and mirrorless feature updates, the Nikon Zf product page is useful as a manufacturer reference.
4. Custom buttons that make the Nikon Zf feel faster
This is where a nikon zf custom controls setup pays off.
The Nikon Zf is stylish, but not overloaded with dedicated external controls. That means customization is not optional if you want speed. It’s essential.
Here’s the layout I recommend based on field use:
| Control / Button | Recommended Assignment | Why it helps |
|---|---|---|
| Fn Button | Subject Tracking or Photo/Video menu access | Fast switching without menu diving |
| AE-L / AF-L Button | Starlight View Mode | Easier framing in very dark scenes |
| Video Record Button | Picture Profile / Tone Mode Select | Quick access to visual looks |
| Sub-selector Center | Reset Focus Point | Instantly returns AF point to center |
| Rear Magnify (+) | Zoom for focus check | Critical for manual focus and detail confirmation |
This setup creates a more fluid shooting rhythm. I’m not thinking about the interface. I’m responding to the scene.
I’ve used similar logic when testing older and more niche gear too. Even in something as historically constrained as the Afghan Box Camera, workflow matters. Tools shape behavior. The difference with the Zf is that Nikon gives you enough customization to shape the tool back.
My one-button rule
I try to assign each custom button to something I need at least once per shoot. Not once per month. Not “just in case.” Every shoot.
That keeps the layout memorable. And in my experience, memorability matters more than theoretical perfection.
5. How to use Nikon Zf camera with manual lenses
If you asked me what makes the Zf emotionally satisfying, I’d say this: manual lenses.
The camera’s design invites slower, more intentional shooting. And the EVF tools make that approach far more practical than it ever was on film. If you want to know how to use nikon zf camera with vintage glass, start with focus aids.
Focus peaking setup
For a strong nikon zf focus peaking manual lenses workflow:
- Go to the focus settings menu
- Turn Focus Peaking on
- Set sensitivity to High
- Choose a visible color like red or yellow
I prefer red in green-heavy outdoor scenes and yellow in darker urban settings. The right color depends on subject contrast.
Pair peaking with magnification
Focus peaking is helpful. Magnification is decisive.
I recommend combining:
- focus peaking for general framing
- the rear magnify button for critical focus checks
- IBIS for more stable handheld composition
This is where the Zf becomes one of the most enjoyable modern cameras for legacy Nikon lenses and adapted primes. I noticed that even fast lenses with shallow depth of field became much less stressful to use once I built this two-step habit: compose, punch in, confirm, shoot.
Photographers who care about storage, long-term media handling, and digital workflow may also enjoy our Akai DR8 Storage piece. It’s a different category entirely, but the same principle applies: gear becomes more valuable when your process is thought through.
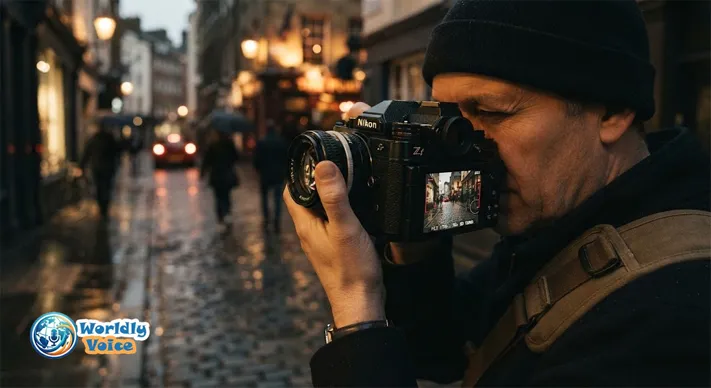
6. A practical field setup I keep coming back to
If you want a simple starting profile from this nikon zf pocket guide, here’s one I trust for general photography:
My everyday Nikon Zf setup
- RAW lossless compressed
- Auto ISO on
- Max ISO 6400 or 12800
- Minimum shutter 1/250s
- AF-C
- Subject detection: Auto or People
- AF-area modes limited to three essentials
- Fn button set to tracking
- AE-L/AF-L set to Starlight View
- Focus peaking enabled when using manual lenses
- Neutral preview profile for more honest LCD/EVF judgment
This setup is balanced. It works for city walks, portraits, travel, and mixed light. It’s also easy to remember, which is half the battle.
FAQs
What are the best autofocus settings for Nikon Zf?
For most people, I recommend AF-C, Release priority, lock-on response at 3 or 4, and limiting AF-area modes to Single-point, 3D-tracking, and Auto-area AF.
How do I start a Nikon Zf custom settings guide for my own shooting?
Begin with your pain points. If you miss moments, optimize autofocus and buttons first. If you shoot mixed media, prioritize your nikon zf menu settings guide around photo/video switching and profiles.
Is the Nikon Zf good for manual lenses?
Yes. In my experience, it’s one of the most enjoyable modern bodies for adapted manual glass because of EVF magnification, IBIS, and focus peaking.
How do I shoot N-Log on the Nikon Zf?
Set the video profile to N-Log, record in a suitable 10-bit format, and turn View Assist on. If you’re exploring how to shoot n log on nikon zf, monitoring correctly is just as important as selecting the profile.
What should I include in a Nikon Zf menu setup and configuration?
Focus on RAW settings, Auto ISO, autofocus behavior, custom menu shortcuts, subject detection, focus peaking, and your preferred video file/profile options.
Are there similar camera setup guides on this site?
Yes. If you like practical setup articles, you may also want to explore Fujifilm X-T5 Pocket Guide, Afghan Box Camera, and Akai DR8 Storage for related workflow thinking.
Conclusion
The Nikon Zf is one of the rare cameras that feels both nostalgic and deeply current. That’s its charm. It’s also why setup matters so much. A thoughtful nikon zf pocket guide is not about tweaking for the sake of tweaking. It’s about making the camera disappear so your attention stays on light, timing, and subject.
After extended use, I’ve found that the biggest gains come from a focused nikon zf custom settings guide, cleaner autofocus choices, smarter custom buttons, and a realistic understanding of how Nikon intended the system to work. Once you dial in your nikon zf menu setup and configuration, the camera becomes faster, calmer, and far more intuitive.
If you’re just getting started, don’t try to master every menu at once. Build one reliable setup. Shoot with it for a week. Then refine. That method has worked for me far better than endless menu reading.
For further technical reference, I recommend checking Nikon’s official Nikon Zf page, the N-Log overview from Nikon USA, and DPReview’s hands-on Nikon Zf review for broader testing context.
