


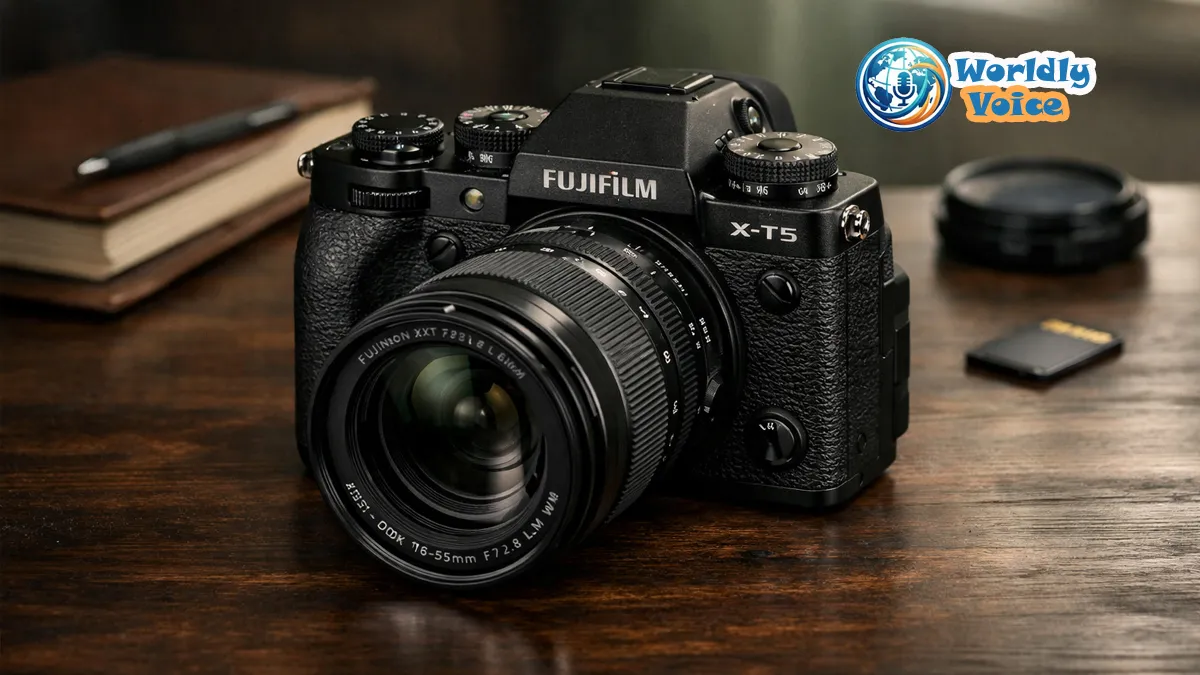
The fujifilm x-t5 pocket guide I wish I had when I first picked up this camera would have started with one simple warning: the X-T5 can do far more than its compact body suggests. Its 40.2-megapixel APS-C sensor, dedicated dials, subject-detection autofocus, and excellent film simulations offer tremendous creative control. But the camera becomes much easier to use once the essential settings are organized around the way you actually shoot.
In this guide, I’ll walk through 10 practical settings that help produce sharper, better-exposed, and more consistent images. We’ll cover portraits, travel, landscapes, action, low light, and everyday photography. I’ll also include a beginner-friendly setup path, real-world examples, and a quick-reference table.
If you are building a broader camera system, topics such as Fujifilm mirrorless camera tips and APS-C sensor camera settings can also help you understand how the X-T5 fits into a larger photographic workflow.
1. Set the camera up before your first serious shoot
A reliable setup begins with the basics. Insert a fully charged NP-W235 battery, install a fast memory card, and set the language, date, time zone, and copyright information.
Before formatting a card, confirm that any important files are backed up. Then format the card in the camera rather than on a computer. This reduces the chance of file-system problems.
My recommended starting setup is:
- Image quality: RAW + Fine JPEG
- Color space: sRGB for general use
- Drive mode: Single frame
- Stabilization: IBIS ON for handheld shooting
- Shutter type: Mechanical shutter for a dependable default
- Auto power off: Extend it if you are working outdoors
- Image review: 1.5–2 seconds
RAW files give you room to recover highlights and adjust white balance. JPEG files provide a finished image for quick sharing. If you never edit, Fine JPEG is simpler. For most photographers, RAW + JPEG is the most flexible option.
The official Fujifilm X-T5 user guide is also worth bookmarking. It explains menu functions in detail and is more accurate than relying on memory or generic camera advice.
For additional device setup and workflow reading, What is an Intelligent Window System offers a useful example of how technical controls can be organized around practical user needs.
2. Choose Aperture Priority as your everyday mode
The X-T5’s shutter-speed and ISO dials can make manual exposure feel inviting. However, Aperture Priority is often the most efficient mode for daily photography.
Set the shutter-speed dial to A, choose the aperture manually, and allow the camera to select shutter speed. This lets you control depth of field without constantly adjusting three exposure variables.
I often begin with these aperture choices:
- f/2 to f/2.8: Strong background separation and portraits
- f/4 to f/5.6: Street, travel, and general-purpose shooting
- f/5.6 to f/8: Landscapes, architecture, and groups
- f/11: Use carefully because diffraction can reduce fine detail
For a portrait, f/2.8 can isolate the subject while keeping both eyes reasonably sharp. For a landscape, f/8 usually provides enough depth without forcing the lens too far into diffraction-prone territory.
This is one of the most useful lessons in any Fujifilm X-T5 setup guide for beginners: learn to control one creative variable first. Aperture affects the look of the photograph, while the camera handles much of the exposure calculation.
3. Build a sensible Auto ISO range
Auto ISO is not an emergency mode. Used carefully, it is one of the most practical features on a modern APS-C camera.
A balanced starting point is:
- Base ISO: 125
- Maximum ISO: 3200 for clean everyday files
- Maximum ISO: 6400 when light is changing quickly
- Minimum shutter speed: Auto or approximately 1/focal length
If you are using a 50mm-equivalent lens, a minimum shutter speed near 1/60 second may work for static subjects. With a 23mm lens, 1/30 second is often acceptable. Remember that image stabilization can reduce camera shake, but it cannot freeze a moving person or animal.
For moving subjects, I increase the minimum shutter speed manually. A child running indoors may need at least 1/250 second. A bird in flight may require 1/1000 second or faster.
I noticed a major improvement in my hit rate after separating two problems: camera shake and subject movement. IBIS helps with the first. Shutter speed solves the second.
4. Pick the right autofocus mode and area
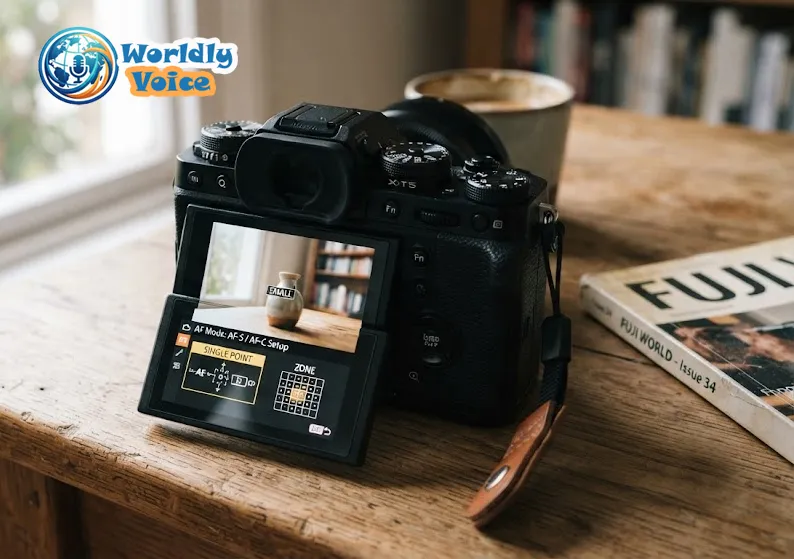
Autofocus should match the subject, not personal habit. AF-S is designed for still or nearly still subjects. AF-C continuously adjusts focus as the subject moves.
Use:
- AF-S + Single Point: Landscapes, portraits, products, and architecture
- AF-C + Zone: Children, vehicles, pets, and casual action
- AF-C + Wide/Tracking: Subjects moving unpredictably across the frame
Single Point gives precise control. Zone AF is more forgiving when the subject moves. Wide/Tracking can work well when the subject is distinct from the background, but it may choose the wrong object in a crowded scene.
The Best autofocus settings for Fujifilm X-T5 depend on the situation. There is no universal combination that wins every time. In my experience, Zone AF with a medium-sized zone is the safest starting point for moving people because it provides tracking support without giving the entire frame too much freedom.
The X-T5 also includes customizable AF-C presets. These adjust tracking behavior for factors such as speed, zone area, and subject movement. Start with a standard preset, then test the alternatives rather than changing several parameters at once.
Face and eye detection
For people, enable Face Detection and Eye Detection. Set eye detection to Auto unless you have a specific reason to prioritize the left or right eye.
If the camera struggles in profile views or low contrast, reduce the AF area and place the focus point near the closest eye. Eye detection is helpful, but it is not magic. Strong backlight, sunglasses, rapid movement, and obstructed faces can still confuse the system.
5. Configure subject detection for real-world action
The X-T5’s subject-detection system can recognize categories such as humans, animals, birds, cars, motorcycles, airplanes, and trains, depending on the selected setting and firmware support.
Turn subject detection on only when it helps. For a birding session, select Bird. For a motorsport event, select Cars or Motorcycles if available. For ordinary street photography, Human is usually the most relevant option.
A useful workflow is:
- Set AF-C.
- Choose Zone or Wide/Tracking.
- Select the correct subject category.
- Test the system against a plain background.
- Review focus accuracy at 100 percent before relying on it.
This approach is part of Mastering Fujifilm autofocus. Automated recognition works best when you give it a clear job. If you leave the camera searching for every possible subject type, the system may become less predictable.
6. Customize the Q Menu and function buttons
The Q Menu is the X-T5’s control center for frequently changed settings. I recommend assigning functions that vary from shoot to shoot rather than options you change once a month.
Useful Q Menu slots include:
- ISO
- White balance
- Film simulation
- Dynamic Range
- AF mode
- AF area
- Self-timer
- Face and eye detection
- Drive mode
- Image quality
You can customize the Q Menu by pressing and holding the Q button, then selecting the items you want. Function buttons and touchscreen swipe gestures can be assigned through the button/dial setting area in the Setup menu.
My own layout places ISO, white balance, film simulation, and autofocus settings close together. That reduces menu diving when light changes quickly.
This is where Fujifilm camera customization becomes more than a convenience. It creates muscle memory. After a few weeks, your fingers begin to reach the right control without interrupting the moment.
Save frequently used combinations in custom shooting settings. For example:
- C1: Everyday Provia, Auto ISO, AF-S
- C2: Portrait Astia, eye detection, Auto ISO
- C3: Action, AF-C, Zone AF, fast minimum shutter
- C4: Monochrome, manual exposure, high-contrast conditions
7. Use film simulations as a starting point, not a rule
Fujifilm’s film simulations are one of the most distinctive features of the X-T5. They change color, contrast, and overall mood before the image reaches a JPEG or preview screen.
A practical starting list is:
- Provia/Standard: Balanced color for everyday use
- Astia/Soft: Gentle contrast for portraits
- Classic Chrome: Muted color for documentary and travel work
- Reala Ace: Natural, versatile rendering
- Acros: Detailed black and white with a classic character
I often choose Provia when I do not yet know what the scene will demand. Classic Chrome is useful when a location has strong textures, faded walls, or subdued light. Astia can be flattering for skin tones when Provia feels slightly too vivid.
You can also create custom Fujifilm film simulation recipes by adjusting highlight tone, shadow tone, color, sharpness, clarity, grain, and color chrome effects. Save these as custom presets with descriptive names such as “Soft Overcast” or “Muted Travel.”
The important point is that film simulation does not replace exposure technique. A beautiful recipe cannot rescue clipped highlights or motion blur.
8. Set white balance for consistency
Auto White Balance is reliable for many situations, especially when shooting RAW. Still, fixed white balance can make a series of images look more consistent.
Use:
- Auto White Balance: Changing conditions and general travel
- Daylight: Consistent sunlight
- Shade: Warmer outdoor portraits
- Tungsten: Indoor scenes under incandescent light
- Kelvin: Controlled environments or creative color work
When photographing a ceremony, interior, or product setup, I prefer a fixed white balance. Otherwise, the camera may interpret each frame differently as the composition changes.
The X-T5 also allows white-balance shifts. A small adjustment toward warmer tones can improve an overcast portrait, while a cooler setting may suit blue-hour architecture. Make small changes and compare them on the same screen.
9. Use manual focus aids when autofocus is uncertain
Manual focus is still valuable for macro work, night scenes, video, and subjects hidden behind foreground objects.
Enable focus peaking when you need a visible confirmation of sharp edges. Digital Split Image can feel familiar to photographers who have used traditional rangefinder-style focusing. Focus Check magnifies the active focus area, making it easier to judge eyelashes, product details, or distant stars.
A dependable manual-focus workflow is:
- Switch to MF.
- Magnify the focus area.
- Turn the focus ring slowly.
- Confirm the detail you want is sharp.
- Recompose only if necessary.
For landscapes on a tripod, manual focus can prevent the camera from grabbing a nearby branch or foreground object. For video, manual focus also avoids distracting focus shifts.
If you are working with networked camera files or remote storage as part of your workflow, How to Configure OpenVPN Client Config Dir may be a useful adjacent technical reference, although it is separate from camera operation.
10. Prepare a repeatable pre-shoot checklist
The final setting is not located in a menu. It is a habit.
Before pressing the shutter, I check:
- Battery level
- Memory-card capacity
- File format
- ISO
- White balance
- Film simulation
- Focus mode
- AF area
- Subject detection
- Shutter speed
- Aperture
- Exposure compensation
- IBIS status
This takes less than 20 seconds once practiced. It prevents the classic mistake of arriving at a dark venue with ISO 125 selected, or photographing wildlife with AF-S and a tiny single point.
Quick reference table
| Setting | Recommended default | Best use |
|---|---|---|
| Exposure mode | Aperture Priority | Everyday shooting and learning depth of field |
| Focus mode | AF-S / AF-C | Still subjects / moving subjects |
| AF area | Single Point / Zone | Precision / action |
| Subject detection | Off or specific category | General scenes / people, animals, vehicles |
| File format | RAW + Fine JPEG | Editing flexibility and quick sharing |
| ISO | Auto ISO 125–3200 | Changing light |
| Minimum shutter | Auto or 1/focal length | Reducing camera shake |
| Film simulation | Provia | Neutral everyday color |
| Stabilization | IBIS ON | Handheld photography |
| White balance | Auto | General use |
These settings form the core of a practical fujifilm x-t5 pocket guide, but they are not permanent rules. A camera should adapt to your subject and working style.
A practical example: one camera, three situations
Imagine taking the X-T5 on a weekend trip.
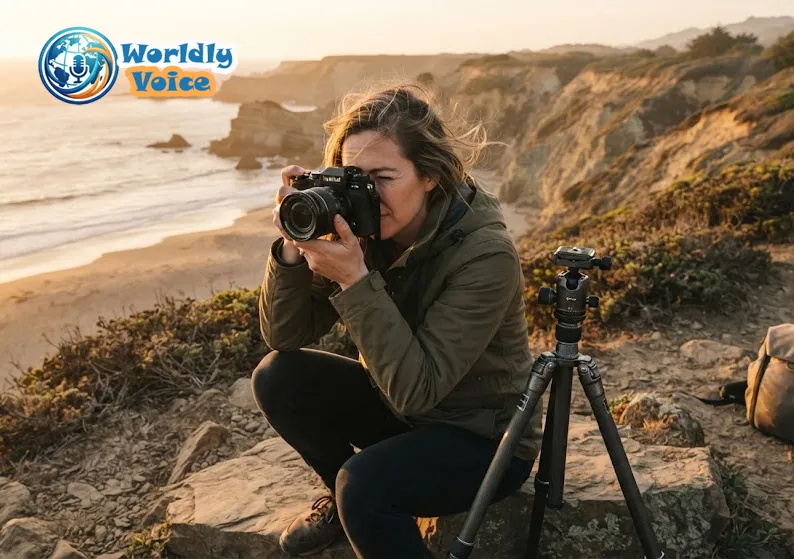
For a morning landscape, I would use Aperture Priority at f/8, ISO Auto capped at 1600, AF-S, Single Point, Provia, and a fixed daylight white balance if the light is stable.
At a café, I would open the aperture to f/2.8, enable Face and Eye Detection, use Auto ISO up to 3200, and select Astia for softer portraits.
At an afternoon football match, I would switch to AF-C, Zone AF, Human or relevant subject detection, a minimum shutter speed around 1/500 second, and a maximum ISO of 6400. I might use Classic Chrome if the scene suits a documentary look, but shutter speed would take priority over color.
That is the central idea behind effective Fujifilm X-T5 photography tips: establish a dependable baseline, then change only the settings that matter for the scene.
For photographers comparing bodies, lenses, and full shooting workflows, a related Clevo NH70 Review may be useful when choosing a computer for RAW processing, catalog management, or travel editing.
FAQs
Is the Fujifilm X-T5 suitable for beginners?
Yes. Its dedicated dials may look advanced, but Aperture Priority, Auto ISO, and the Q Menu make the camera approachable. Begin with a limited set of controls and expand gradually.
Should I shoot RAW or JPEG on the X-T5?
RAW + JPEG is the most flexible option. JPEG files benefit immediately from film simulations, while RAW files preserve editing latitude. If storage and editing simplicity matter most, Fine JPEG is perfectly reasonable.
What are the best autofocus settings for portraits?
Use AF-S for a stationary portrait, Face Detection ON, Eye Detection Auto, and Single Point or a small Zone. For a moving subject, switch to AF-C and use a broader zone.
Should IBIS remain enabled?
Leave IBIS ON for handheld photography. Disable it on a stable tripod when appropriate, particularly during long exposures, to avoid unwanted stabilization behavior.
Can I use Fujifilm X-T5 manual settings for every photograph?
You can, but you do not need to. Manual exposure is useful when you want consistent brightness across a sequence. Aperture Priority is often faster when light changes.
Which film simulation is best?
There is no single winner. Provia is the safest everyday choice, Astia suits softer portraits, Classic Chrome works well for travel and documentary images, and Reala Ace offers a natural general-purpose look.
Final thoughts
The X-T5 rewards photographers who build a repeatable system. Start with Aperture Priority, Auto ISO, sensible autofocus, and a customized Q Menu. Add subject detection when the scene requires it. Use film simulations to shape the mood, not to compensate for weak exposure.
I also recommend practicing these settings before an important trip or event. Photograph the same subject with AF-S and AF-C. Compare Provia, Astia, and Classic Chrome. Test your Auto ISO limits indoors. Those short experiments reveal more than memorizing menu descriptions.
This fujifilm x-t5 pocket guide is designed as a starting point, not a substitute for experience. Once the essential controls become familiar, you can move into advanced photography settings for X-T5, manual focus, custom recipes, interval shooting, multiple exposure, panorama, and long exposure work with much greater confidence.
For authoritative specifications and firmware information, consult the Fujifilm X-T5 product page and the Fujifilm X-T5 manual. Fujifilm’s film simulations resource also explains the creative intent behind the available color profiles.
