


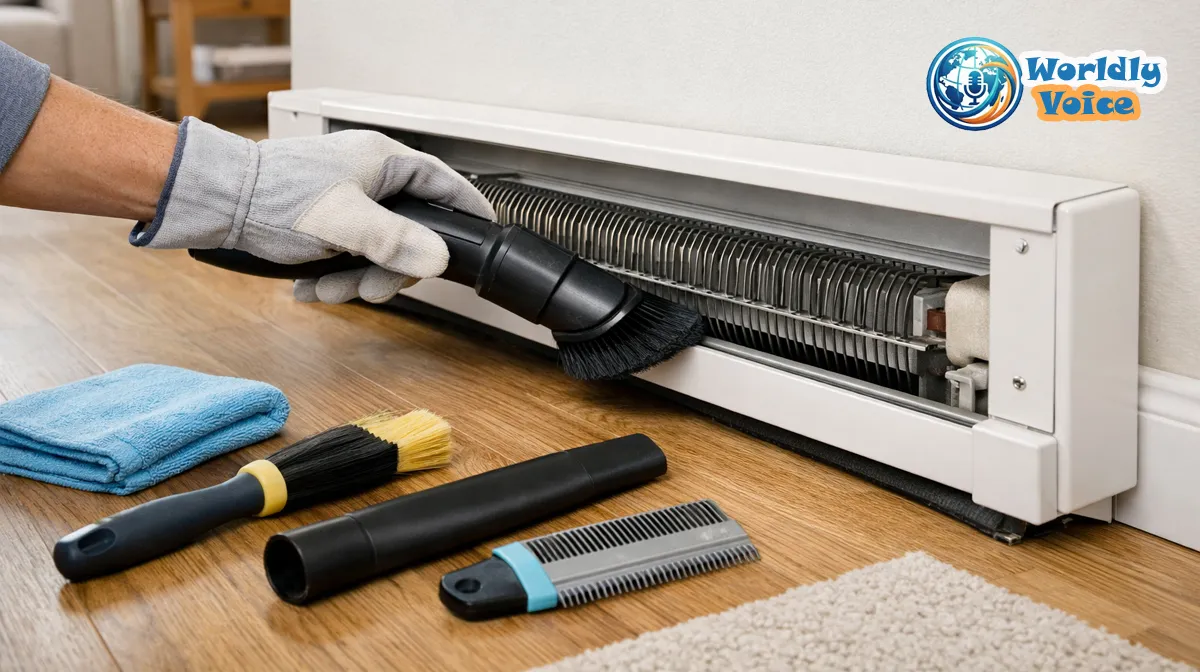
If you’ve ever wondered how to clean baseboard heaters without bending the fins, making a dusty mess, or damaging the unit, I’ve been there. The first time I opened an old baseboard heater cover, I found a compact layer of pet hair, lint, and gray dust wrapped around the fins like felt. The heater still worked, but the room warmed slowly, the air smelled stale, and the energy bill told the rest of the story.
Baseboard heaters are easy to ignore because they sit quietly along the wall. But they collect dust fast. That buildup blocks airflow, reduces heat transfer, and can create a fire risk if debris sits too close to hot components. In my experience, a careful seasonal cleaning can make a noticeable difference in comfort, especially in bedrooms, basements, and drafty home offices.
This guide walks through how to clean electric baseboard heaters, hydronic units, covers, fins, and coils safely. I’ll also share the best tools for cleaning baseboard heaters, how often to do it, and what to avoid.
If you enjoy practical home maintenance guides, this pairs well with other troubleshooting topics like How to Troubleshoot and Fix Epson ET-2800 Common Errors, where small maintenance steps also prevent bigger problems later.
Quick Summary: What You Need to Know
Baseboard heaters collect dust quickly. That dust can reduce efficiency, restrict airflow, and increase the risk of overheating. The safest cleaning method is simple:
- Turn off the power or heating system.
- Let the heater cool completely.
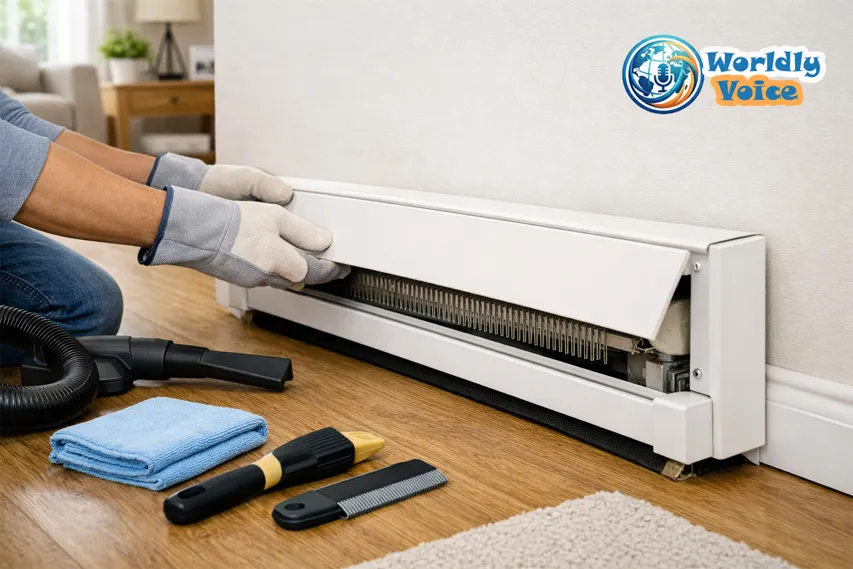
- Remove the front cover.
- Vacuum the fins and inside channel.
- Brush out stuck debris.
- Straighten bent fins.
- Clean the cover.
- Reassemble and test airflow.
Most home safety organizations agree on the same core principle: keep heaters clean, unobstructed, and away from flammable materials. The National Fire Protection Association shares similar heating safety guidance under prevent baseboard heater fire hazard, especially around clearance and safe operation.
Why Cleaning Baseboard Heaters Matters
1. Dust Blocks Heat Transfer
Baseboard heaters work by moving air across heated metal fins or coils. Cool air enters near the floor, passes over the hot element or hydronic pipe, then rises into the room.
When dust coats the fins, heat transfer slows down. The heater may run longer to reach the same temperature. That means more energy use and less comfort.
I noticed this clearly in a small guest room. Before cleaning, the heater clicked on often but the room stayed chilly. After vacuuming baseboard heater coils and brushing the fins, the room warmed more evenly within one heating cycle.
2. Dirty Heaters Can Raise Energy Bills
Efficiency loss varies by system and home, but dirty fins can meaningfully reduce performance. In dusty homes or houses with pets, buildup can be heavy enough to increase heating costs. A neglected heater has to work harder because warm air cannot circulate freely.
If your goal is to improve baseboard heater efficiency, cleaning is one of the cheapest maintenance tasks you can do. It costs almost nothing, takes about 20–40 minutes per room, and does not require advanced mechanical skill.
3. Dust Can Become a Safety Issue
Dust, pet hair, paper scraps, and lint should never sit inside a hot heater. Electric units can get especially warm. Hydronic heaters usually run at lower surface temperatures, but they still need clear airflow.
To reduce risk:
- Keep curtains away from heaters.
- Do not push furniture against them.
- Avoid storing toys, bedding, or boxes nearby.
- Never spray liquid cleaners into electric components.
- Clean before the heating season starts.
For general information on electric heat systems, the U.S. Department of Energy provides a helpful overview of electric baseboard heater maintenance and electric resistance heating.
Tools and Supplies You’ll Need
You do not need a professional cleaning kit. But the right tools make the job faster and safer. We tested several common household tools, and the biggest difference came from using a vacuum crevice attachment plus a soft brush.
| Tool | Best Use | Why It Helps |
|---|---|---|
| Vacuum with brush attachment | Removing loose dust from fins and heater channel | Strong suction without scraping |
| Crevice tool | Reaching narrow corners | Gets behind fins and end caps |
| Microfiber cloths | Wiping covers and exterior surfaces | Lint-free and reusable |
| Long-handled soft brush | Loosening stuck dust | Reaches deep without bending fins |
| Pipe cleaners | Cleaning dusty baseboard heater fins | Flexible enough for tight gaps |
| Fin comb | Baseboard heater fin repair and straightening | Restores airflow channels |
| Needle-nose pliers | Straightening badly bent fins | Useful when a fin comb does not fit |
| Work gloves | Protecting hands | Fins can be sharp |
| Dust mask | Reducing dust inhalation | Helpful for allergy sufferers |
A specialty tool like the Baseboard Buddy can help with exterior dust removal, especially if bending down is difficult. I still prefer removing the cover for deep cleaning because surface wiping alone does not reach the fin assembly.
How to Clean Baseboard Heaters Step by Step
Step 1: Turn Off the Power or Heat Source
Before touching anything, shut the system down.
For electric baseboard heaters, turn the thermostat off first. Then switch off the correct circuit breaker. Do not rely only on the wall thermostat. Electric heaters can still be connected to live power.
For hydronic baseboard heaters, turn off the boiler or heating zone and let the system cool. Hydronic units circulate hot water through copper pipe, so give them enough time to reach room temperature.
I usually wait at least 30 minutes. If the heater still feels warm, wait longer.
Step 2: Remove the Front Cover
Many homeowners ask how to remove baseboard heater covers without breaking clips or bending metal. Most covers either lift upward and pull forward, slide off from the end, or are held by small screws.
Work slowly.
- Look for end caps first.
- Remove screws if present.
- Lift the front panel gently.
- Avoid forcing the cover.
- Place screws in a small cup.
Older covers can be brittle or slightly warped. If you feel resistance, check for hidden fasteners. I once rushed this step and bent a cover lip just enough that it rattled after reassembly. Gentle pressure saves time later.
Step 3: Vacuum Loose Dust and Debris
This is the most important part of removing dust from baseboard heaters. Use a vacuum with a brush attachment to clean the visible fins, bottom channel, wall edge, and floor line.
Move slowly. Let suction do the work.
Then switch to a crevice tool and run it along:
- The bottom trough
- Behind the fin tube
- Near end caps
- Between wall and heater
- Around wiring compartments, without touching wires
For cleaning dust out of baseboard heaters, avoid jamming the vacuum nozzle into the fins. Aluminum fins bend easily. Bent fins restrict airflow and can make the unit noisier.
Step 4: Brush Between the Fins
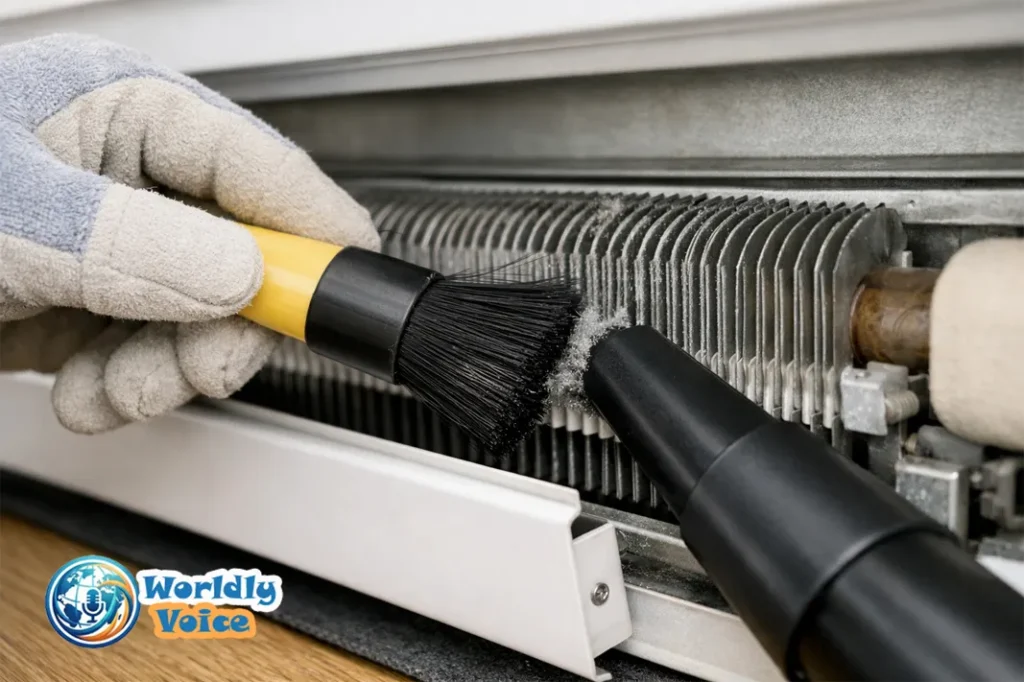
Vacuuming removes loose debris, but fine dust often clings to the fins. Use a long-handled soft brush, bottle brush, paintbrush, or pipe cleaners to loosen stubborn buildup.
This is where cleaning dusty baseboard heater fins becomes more detailed. Brush in the direction of the fins rather than across them. Short, light strokes work better than aggressive scrubbing.
If you have allergies, wear a dust mask. Dust can puff upward once you start brushing.
For a deeper guide on electric units, this Old House-style overview on How to clean electric baseboard heaters gives a useful homeowner-friendly perspective.
Step 5: Straighten Bent Fins
Bent fins block airflow. They also create dust traps.
Use a fin comb if you have one. Match the comb spacing to the fins and slide it through gently. If only a few fins are bent, needle-nose pliers can help. Work slowly and avoid snapping the metal.
This small task supports baseboard heater fin repair and straightening. It is not cosmetic. Straight fins allow air to pass through the heater evenly, which helps improve heat output.
If a large section is crushed, consider calling an HVAC technician or replacing the cover/finned element section.
Step 6: Wipe the Cover and End Caps
Clean the removed cover separately. A dry microfiber cloth is usually enough. If the cover has sticky residue, use a lightly damp cloth with mild soap, then dry it completely.
Avoid abrasive pads. They can scratch painted metal and expose surfaces to rust.
Do not spray cleaner directly into the heater. This matters most for electric models. Moisture and electrical components do not mix.
Step 7: Reassemble and Test
Once everything is dry and dust-free, reinstall the cover and end caps. Make sure the cover sits evenly and does not touch the fins.
Turn the breaker or heating system back on. Set the thermostat a few degrees higher and listen. You should not hear buzzing, scraping, or rattling. Warm air should rise steadily from the top opening.
This final check tells you whether the cover is seated properly and airflow is restored.
How to Clean Electric Baseboard Heaters Safely
Electric models need extra caution because they contain wiring and heating elements. The process is similar, but safety comes first.
When I handle electric baseboard heater maintenance, I follow this checklist:
- Turn off the breaker.
- Confirm the heater is cool.
- Never use wet spray cleaners inside.
- Do not touch wiring.
- Keep metal tools away from electrical compartments.
- Vacuum gently around the element.
- Call an electrician if you see burned wires, scorch marks, or melting.
If your heater smells dusty for a few minutes after the first seasonal use, that can happen when tiny leftover particles warm up. But a burning smell, smoke, sparks, or repeated breaker trips are not normal. Stop using the unit and get professional help.
Best Way to Clean Hydronic Baseboard Heaters
Hydronic baseboard heaters use hot water from a boiler. They are common in older homes and cold climates. They do not have electric heating elements inside the baseboard cover, but the metal fins and copper pipe still collect dust.
The best way to clean hydronic baseboard heaters is:
- Turn off the boiler or zone.
- Let the pipe cool.
- Remove the cover.
- Vacuum the fin tube carefully.
- Brush between fins.
- Straighten damaged fins.
- Clean the cover.
- Check for leaks or corrosion.
Look for greenish stains, water marks, rust, or damp flooring. Those can signal a leak or condensation issue. Cleaning gives you a chance to spot problems early.
This is similar to upgrading older equipment in other areas of the home. For example, someone comfortable with detailed hardware care may also appreciate a guide like Akai DR8 Storage Upgrade, where careful handling and inspection prevent performance issues.
Common Mistakes to Avoid
Spraying Water Inside the Heater
Never spray water, disinfectant, or cleaner directly into a baseboard heater. Even hydronic heaters can have nearby wiring for thermostats or zone controls. Use a cloth instead.
Bending the Fins While Vacuuming
Fins are thin for a reason. They transfer heat efficiently, but they also bend easily. Use brush attachments and low pressure.
Cleaning While the Heater Is Hot
Hot metal can burn skin. It can also cause cleaning products to evaporate too quickly or leave residue. Always let the heater cool.
Forgetting the Floor Line
Dust gathers where the heater meets the floor. Vacuum this area thoroughly. Pet hair often hides along the bottom edge.
Blocking the Heater After Cleaning
A clean heater cannot perform well if furniture blocks airflow. Leave several inches of open space in front of the unit. Keep curtains above or away from the heater.
How Often Should You Clean Baseboard Heaters?
For most homes, clean baseboard heaters once per year before the heating season. Early fall is ideal.
Clean twice per year if:
- You have pets.
- You live near a dusty road.
- Someone in the home has allergies.
- The heater is in a bedroom.
- You recently renovated.
- You notice a burning dust smell.
In my home, pet hair changes the schedule. Rooms the dog visits need cleaning twice as often as low-traffic rooms.
Seasonal Maintenance Checklist
Use this quick checklist before cold weather arrives:
- Turn off power or boiler.
- Remove covers.
- Vacuum fins and trough.
- Brush between fins.
- Straighten bent fins.
- Wipe covers.
- Check for rust, scorch marks, or loose parts.
- Reinstall covers securely.
- Test heat and airflow.
- Clear furniture, curtains, and rugs.
This type of small seasonal task can prevent bigger comfort problems. It is like cleaning camera gear before a trip; readers interested in careful equipment care may also enjoy Fujifilm X-T5 maintenance and setup topics.
Troubleshooting After Cleaning
Sometimes cleaning reveals problems that dust had hidden.
The Heater Still Does Not Warm Well
Check the thermostat, breaker, and airflow. If an electric unit remains cold, it may have a failed thermostat, heating element, or wiring issue. For hydronic systems, trapped air or boiler trouble may be the cause.
The Cover Rattles
Remove and reinstall it. Check that end caps are secure. Slightly bent covers may need reshaping.
There Is a Burning Smell
A brief dusty smell can happen after seasonal startup. But strong burning, smoke, or discoloration means stop immediately. Turn off power and call a professional.
The Fins Are Badly Crushed
Straighten what you can with a fin comb. If airflow is still blocked, replacement may be better than repair.
FAQs About Cleaning Baseboard Heaters
How do I clean inside a baseboard heater without removing the cover?
You can vacuum the exterior openings with a brush attachment, but it is not as effective. For the best result, remove the cover so you can reach the fins and bottom channel.
What is the safest method for removing dust from baseboard heaters?
Turn off the power, let the unit cool, remove the cover, vacuum gently, then brush between the fins. Avoid water sprays and harsh cleaners.
Can I use compressed air?
I do not recommend it indoors. Compressed air can blow dust deeper into the room and into electrical areas. A vacuum captures debris instead of spreading it.
How often should electric baseboard heaters be cleaned?
Clean electric heaters at least once a year before winter. Clean twice yearly if you have pets, heavy dust, or allergy concerns.
What are the best tools for cleaning baseboard heaters?
The best tools are a vacuum with brush and crevice attachments, microfiber cloths, pipe cleaners, a soft long-handled brush, gloves, and a fin comb.
Is cleaning enough to improve baseboard heater efficiency?
Often, yes. Cleaning improves airflow and heat transfer. But if the heater still performs poorly, check thermostat settings, room insulation, electrical issues, or boiler performance.
Conclusion: A Cleaner Heater Is a Safer, More Efficient Heater
Learning how to clean baseboard heaters is one of those small home skills that pays back quickly. You get better airflow, fewer dusty odors, safer operation, and potentially lower heating costs. The process is simple: shut the system down, remove the cover, vacuum carefully, brush the fins, straighten bent areas, wipe the cover, and test the heat.
In my experience, the biggest improvement comes from cleaning before the first cold snap. That way, your heaters are ready when you need them most.
If you are already working through seasonal home maintenance, pair this task with other practical guides like How to Troubleshoot and Fix Epson ET-2800 Common Errors, Akai DR8 Storage Upgrade, How to Install a Pellet Stove and Fujifilm X-T5 to keep your home systems and gear running smoothly.
References
- electric baseboard heater maintenance — U.S. Department of Energy
- prevent baseboard heater fire hazard — National Fire Protection Association
- How to clean electric baseboard heaters — The Spruce
