


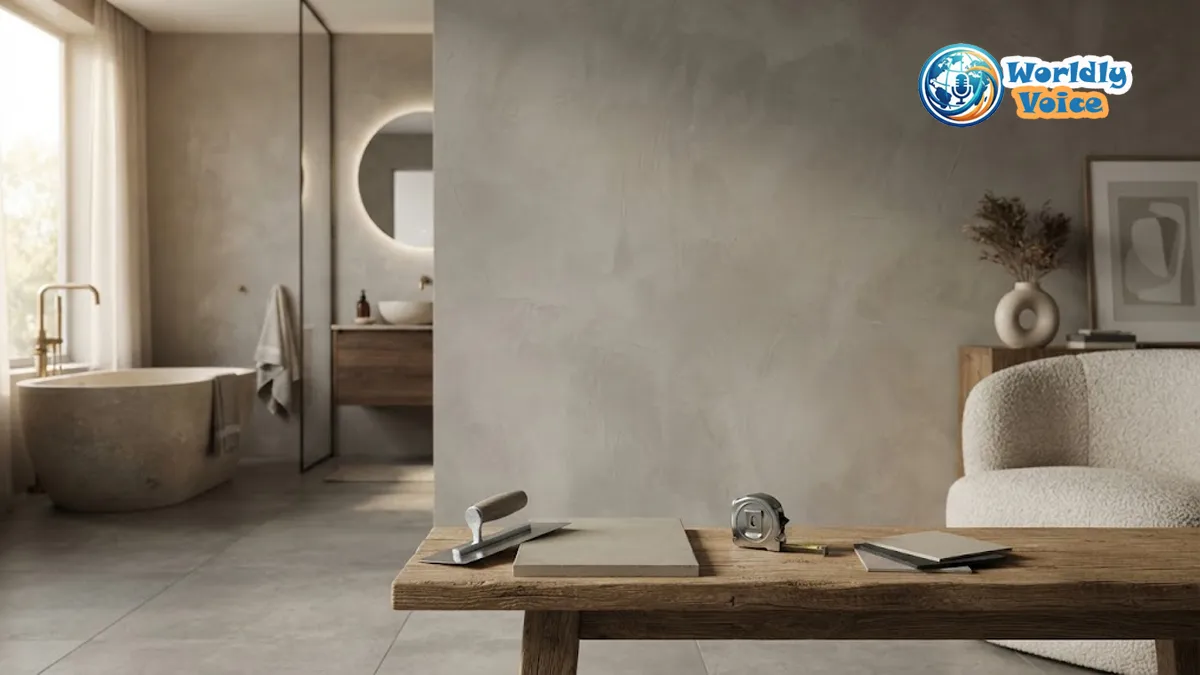
If you are trying to estimate the microcement wall cost per square foot for a remodel in 2026, you are not alone. I have noticed that homeowners often love the look of seamless walls, but pause when the quotes come in. That hesitation makes sense. Microcement is stylish, durable, and modern, yet pricing can feel hard to decode because labor, wall prep, room type, and product system all change the final number.
In this guide, I’ll break it down in simple terms. We’ll look at real-world averages, where the money goes, how the microcement wall installation cost compares with tile or paint, and when a DIY kit makes financial sense. I’ll also share a few lessons I’ve learned from comparing contractor bids and watching how hidden prep work can shift a budget fast.
1. What does microcement actually cost in 2026?
Most professional projects in the U.S. land between 10and18 per square foot for walls. That usually includes prep, primer, multiple microcement layers, sanding, and a protective sealer. In premium markets or technically difficult rooms, I have seen pricing rise to $20 or more per square foot.
Here is a simple pricing snapshot:
| Project Type | Typical 2026 Cost Per Sq Ft | What’s Usually Included |
|---|---|---|
| DIY accent wall | 4–8 | Material kit, basic tools, your labor |
| Standard pro installation | 10–18 | Labor, materials, primer, sealer |
| High-end custom finish | 18–25+ | Premium finish, color matching, difficult details |
| UK/Europe benchmark | £80–£130 per m² | Professional application and materials |
When people ask me about the microcement price per square foot, I always tell them to think beyond the bag or bucket of product. Materials matter, but labor drives the quote. This is a hand-applied finish. It is not like rolling paint on drywall in an afternoon.
That is also why decorative concrete wall finish pricing varies so much between contractors. One installer may include surface repair, while another prices that separately.
2. Why labor makes up the biggest share of the bill
The biggest part of the microcement wall installation cost is skilled labor. A proper application is a layered system, not a single coat.
A typical process looks like this:
- Surface cleaning and evaluation
- Crack repair or patching
- Primer application
- Base coats with reinforcing mesh when needed
- Finish coats for color and texture
- Sanding between stages
- Sealer application for stain and moisture resistance
In my experience, this is where clients are often surprised. The material itself may seem manageable, but getting a smooth, consistent finish on a vertical surface takes patience and technique. Walls are unforgiving. Every trowel mark, corner line, and patch transition can show if the installer rushes.
Microcement application labor rates also rise when the space has:
- Many inside and outside corners
- Niches, ledges, or cutouts
- High ceilings
- Bathroom humidity exposure
- Existing tile that needs extra bonding prep
3. Material costs are only part of the picture
The microcement wall finish material cost is important, but it is rarely the whole story. Most wall systems require a combination of primer, base material, pigment or pre-tinted finish, mesh in some cases, and a protective topcoat.
For DIY or material-only estimates, you can expect rough costs like these:
- Basic DIY microcement wall kits price: 120–300 for a small accent wall
- Mid-range material systems: about 2–5 per square foot
- Premium branded systems with sealers and specialty finishes: 5–8 per square foot
Product type also affects your budget:
One-component systems
These are simpler and often more accessible for homeowners. They can lower waste and reduce complexity.
Two-component systems
These are often favored for commercial or wet-area durability. They may cost more and require tighter mixing discipline.
Ready-to-use systems
This is one of the biggest 2026 trends. I’ve seen more homeowners gravitate toward pre-mixed, water-based products because they save time and reduce mixing errors. For small projects, that convenience can be worth the extra per-unit cost.
If your goal is a bathroom or laundry room wall, remember that waterproof wall coating cost may include upgraded sealers and more prep. That pushes total pricing higher than a dry living room feature wall.
For technical standards and performance guidance, I often point readers to the American Concrete Institute and National Association of Home Builders, both of which help frame best practices around substrate quality and finish durability.
4. The hidden costs that inflate quotes
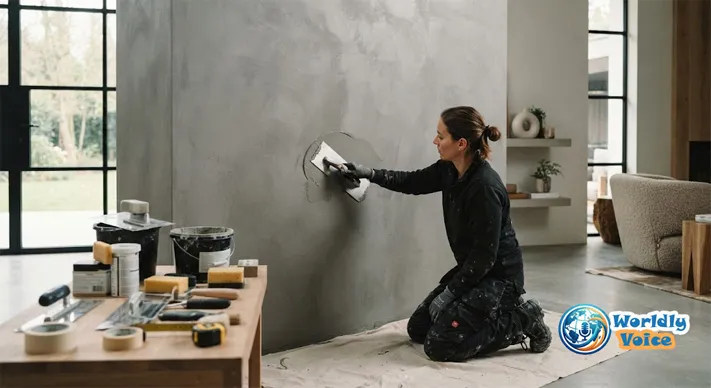
When homeowners tell me a bid feels higher than expected, I usually look at prep first. Hidden substrate work is one of the biggest reasons the microcement wall cost per square foot can jump.
Common hidden costs include:
- Repairing cracked drywall
- Leveling uneven plaster
- Skimming over textured walls
- Adding fiberglass mesh for stability
- Priming glossy paint or old tile
- Moisture treatment in bathrooms or basements
A wall that looks “fine” from across the room may still need serious prep under a seamless finish. Unlike tile, microcement does not hide much. It follows the condition of the substrate closely.
I once compared two bathroom wall quotes that were nearly $700 apart for the same square footage. The cheaper contractor excluded crack repair and moisture prep. The higher quote included both. On paper, the lower bid looked better. In reality, it carried more risk.
That is why I encourage people to ask for line items. A useful quote should separate:
- Surface preparation
- Materials
- Labor
- Sealer or waterproofing
- Edge/detail work
- Travel or minimum project fees
5. Is microcement expensive for walls compared with other finishes?
Yes, upfront, it often is. But that is only half the answer.
When people ask, “is microcement expensive for walls,” I say it depends on what you compare it to. Against paint, microcement is clearly more expensive. Against premium tile, stone veneer, or custom plaster, it can be surprisingly competitive.
Here’s a practical comparison:
- Paint: lower initial cost, shorter design impact, more frequent repainting
- Tile: moderate to high cost, grout maintenance, more demolition if replacing
- Venetian plaster: premium look, labor-intensive, varies by finish
- Microcement: seamless, modern, durable, often installed over existing surfaces
The strongest cost argument for microcement is not just style. It is reduced demolition. In many cases, installers can apply it over old tile or stable surfaces, which may lower tear-out and disposal costs. That changes the math.
This is where the phrase microcement vs traditional tile wall cost becomes useful. Tile may seem cheaper per square foot at first, but once you add demolition, backer board, setting materials, grout, trimming, and labor, the gap can narrow.
For inspiration on finish systems and design applications, I also like the product education sections from Topciment because they explain how different microcement systems are used on walls, floors, and wet areas.
6. Where microcement gives the best return on investment
In my experience, microcement offers the best ROI in spaces where seamless design and easy cleaning matter most.
Best-value use cases include:
Bathrooms
No grout lines. Fewer mold-prone joints. A spa-like finish. If sealed correctly, it can be a smart long-term move.
Kitchen backsplashes and walls
A clean surface is easier to wipe down than textured finishes.
Accent walls
This is often the sweet spot for first-time users. You get the visual impact without coating a whole house.
Rental upgrades or resale staging
Modern interior wall finishes cost more upfront, but a polished, architectural look can help a property feel current.
If you are refreshing several systems at once, I find it helpful to think in layers: safety, function, then design. That same mindset applies whether you are planning a wall finish or reading How to Clean Baseboard Heaters before winter maintenance.
7. DIY vs professional installation: when each makes sense
DIY can save real money. But it is not ideal for every wall.
A DIY project may work well if:
- The wall is small and flat
- The space is dry
- You want a soft, organic finish
- Minor texture variation will not bother you
Professional help is usually better if:
- The wall is in a shower or wet area
- You need a polished, luxury finish
- The substrate has damage
- The room has tricky corners or built-ins
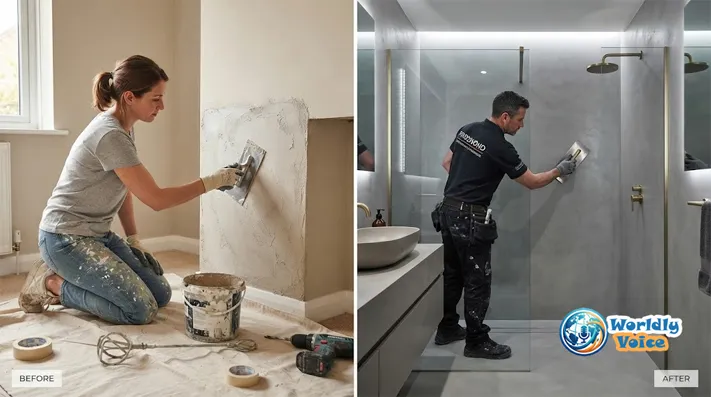
I tested sample boards with two DIY-ready products last year, and the learning curve was real. The first pass looked promising. The second coat exposed uneven pressure and edge buildup. That does not mean DIY is a bad idea. It just means seamless finishes reward patience.
DIY microcement wall kits price is attractive for homeowners who want to experiment on an office nook, fireplace surround, or small bedroom wall. For a main bath, I would lean professional unless you already have finishing experience.
8. How to estimate your project accurately
If you want a realistic number, do not stop at square footage alone. I use a simple checklist:
Step 1: Measure true wall area
Subtract windows, but do not assume every cutout saves much. Edges still take time.
Step 2: Rate the wall condition
Smooth and stable? Or cracked, glossy, tiled, damp, or uneven?
Step 3: Identify the room type
Dry room, kitchen, powder room, full bathroom, or shower wall.
Step 4: Decide on finish quality
Basic matte texture or premium custom tone with tighter detailing.
Step 5: Get at least three quotes
Ask each contractor to clarify prep, sealer, and warranty coverage.
As a rough example, a 120-square-foot feature wall might cost:
- DIY: 480–960
- Professional standard finish: 1,200–2,160
- Premium custom finish: 2,160–3,000+
That is why the microcement wall cost per square foot should always be read as a range, not a fixed rule.
FAQs
How much is microcement wall cost per square foot in 2026?
Most U.S. homeowners can expect about 10 to18 per square foot for professional installation. DIY projects often fall closer to 4 to 8 per square foot.
What affects microcement wall installation cost the most?
Labor, wall condition, room complexity, moisture protection, and finish level all matter more than product cost alone.
Is microcement expensive for walls compared with paint?
Yes. Paint is cheaper upfront. But microcement can last longer, look more architectural, and reduce grout or demolition needs compared with some other finishes.
Can microcement go over existing tile?
Often, yes, if the tile is stable and properly prepped. This can reduce demolition costs, which improves the value of seamless wall coating cost per sq ft.
Are DIY kits worth it?
For a small accent wall, yes. For showers or high-visibility spaces, I usually recommend professional installation for more reliable results.
What other home projects should I budget alongside this?
If you are renovating a room, remember adjacent maintenance and update tasks such as How to Clean Baseboard Heaters, wall painting, trim repair, and lighting upgrades.
Conclusion
The real answer to microcement wall cost per square foot in 2026 is not one number. It is a range shaped by labor skill, substrate prep, moisture demands, and design ambition. In my experience, the most successful projects happen when homeowners budget for prep early, compare detailed quotes, and choose the right wall for the right finish.
If you want a sleek, grout-free surface with long-term visual impact, microcement can absolutely be worth the investment. It may cost more than paint, but it often delivers more character, easier cleaning, and a distinctly modern feel. If you are still weighing options, compare your room needs, ask for sample boards, and look at how microcement vs traditional tile wall cost plays out once demolition and maintenance are included.
For readers planning a broader home refresh, I’d also keep related tasks in view, from How to Clean Baseboard Heaters and seasonal upkeep checklists. A smart renovation budget works best when every detail has a place.
References:
