


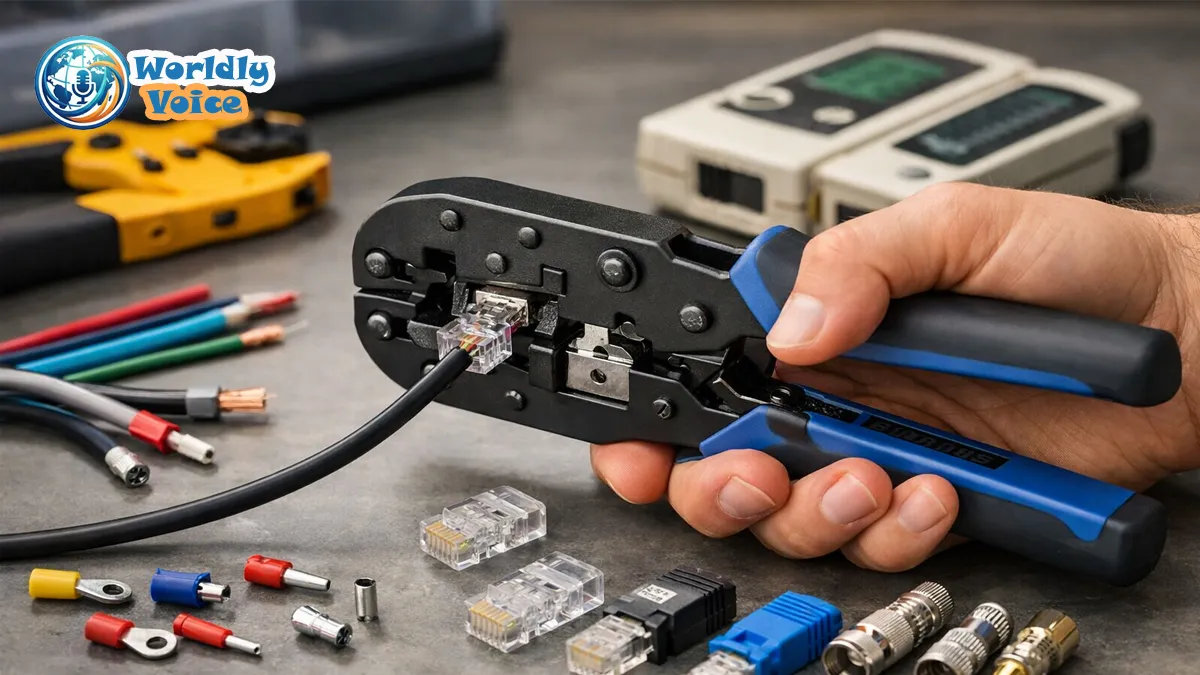
If you have ever asked yourself what is a crimping tool, the short answer is this: it is a hand or powered tool that joins a connector to a wire or cable by compressing them into a tight, reliable connection. In practice, that means faster electrical work, cleaner terminations, and fewer failures than a loose twist or a rushed solder joint. I have found that once people understand what is a crimping tool used for, the rest of the topic becomes much easier to follow.
1. What a crimping tool actually does
A crimping tool reshapes a connector so it grips the conductor inside a wire or cable. The tool applies controlled pressure, usually through hardened jaws, to form a permanent mechanical bond.
That matters because the connection has to survive vibration, movement, heat, and time. In electrical work, a bad termination can mean intermittent faults, heat buildup, or total failure. Crimping avoids the open flame and cleanup that soldering often requires, which is why many technicians prefer mechanical termination in the field.
In my experience, beginners often think crimping is just “squeezing metal.” It is more precise than that. The connector, wire gauge, and die shape all have to match. That is the difference between a connection that lasts and one that loosens later.
For background reading on related maintenance topics, see HP 4wd8sua Specs, Review & Troubleshooting Guide and Epson ET-2800 Fix Common Errors as examples of how technical accuracy depends on the right tools and procedures.
2. What is a crimping tool used for in real work
The most common answer to what is a crimping tool used for is electrical terminations, but the use cases are broader than that.
Crimpers are used for:
- Ring, spade, and butt connectors on copper or aluminum wire
- Ethernet and telephone connectors
- Automotive wiring repairs
- Marine and vibration-prone environments
- HVAC control wiring
- Coaxial cable work
- Ferrules and specialty industrial fittings
Most studies and trade references agree on one core point: properly crimped connections are reliable because the conductor and connector are locked together by compression, not guesswork. That makes them ideal where consistency matters.
I have seen the biggest difference in service work. A properly crimped terminal is fast to install, easy to inspect, and usually more repeatable than hand-soldered field work. That is why technicians rely on professional cable termination tools for production and maintenance jobs.
3. Types of crimping tools and where each fits
There are several types of crimping tools, and choosing the wrong one is where most beginners go wrong. The tool should match the cable, connector, and workload.
| Type | Best for | Key traits |
|---|---|---|
| Manual hand crimpers | DIY and light electrical work | Affordable, simple, variable consistency |
| Ratcheting crimpers | Regular wiring tasks | Full compression cycle, more repeatable results |
| Hydraulic crimpers | Heavy-duty industrial cables | High force, large conductors, stable output |
| Battery-powered crimpers | Fast-paced professional jobs | Efficient, consistent, reduced hand fatigue |
| Specialized crimpers | Networking, coax, automotive, ferrules | Built for specific connector profiles |
The ratchet crimping tool benefits are hard to ignore. It forces the user through the full cycle, which reduces partial crimps and weak joints. For beginners, that feature alone can prevent a lot of frustration.
A heavy-duty hydraulic wire crimper makes more sense for large-gauge cable than any hand tool. It delivers the force needed for industrial terminations without overworking the operator. Battery-powered models sit between the two: portable, fast, and ideal when volume matters.
4. Network cable crimper guide for Ethernet and phone lines
A practical network cable crimper guide starts with connector type. Network tools are usually designed for RJ45-style 8P8C plugs or RJ11 phone connectors. They are common in Cat5e, Cat6, and Cat6a installations.
Here is the basic workflow:
- Strip the jacket without nicking the conductors.
- Arrange the wires in the correct standard, usually T568A or T568B.
- Insert the conductors fully into the plug.
- Place the plug into the crimper.
- Squeeze until the cycle completes.
- Test the cable with a tester.
I prefer to treat networking as a precision task, not a brute-force one. If the wire order is off by even one position, the cable may fail or behave unpredictably. That is why coaxial and ethernet crimper tools are usually kept separate from general-purpose electrical crimpers.
For more structured cable work, it helps to understand wire stripping and crimping steps before rushing into installation. That small discipline saves time later.
5. How to use a crimping tool correctly
If you are learning how to use a crimping tool, start with the connector datasheet or the tool markings. The right crimp profile matters more than most people realize.
A clean process looks like this:
- Choose the correct connector for the wire gauge
- Strip insulation to the recommended length
- Insert the conductor fully into the terminal
- Align the connector with the correct die
- Apply pressure until the ratchet or mechanism releases
- Inspect the joint and perform a pull test
That is the practical version of electrical wire crimping techniques. The goal is a uniform compression that grips the metal conductor without cutting it.
A small mistake can cause a big failure. Too little pressure creates a loose terminal. Too much pressure can cut strands or deform the connector. I have noticed that most field failures come from mismatch, not from the tool itself.
6. Mechanical vs soldered wire connections
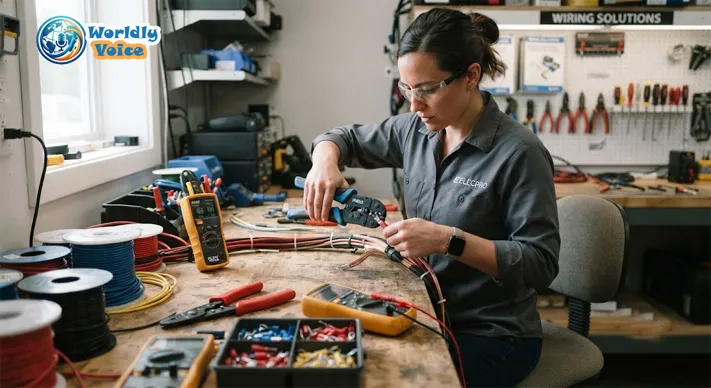
People still compare mechanical vs soldered wire connections because both can work. The real question is which method fits the job.
Crimping is usually faster, safer, and more consistent in the field. Soldering can be useful for electronics, repairs, or situations where the design explicitly calls for it. But for many wire harnesses, terminals, and service connections, crimping wins on repeatability.
The key advantage is strain relief. A good crimp holds the conductor and connector together mechanically, which is why it performs well in cars, aircraft-style harnesses, and industrial panels. This is also why insulated terminal connectors guide materials often stress proper matching between connector size and wire gauge.
In simpler terms, if the connection needs to survive movement, crimping is usually the cleaner choice.
7. Common mistakes and how to avoid them
Most problems with crimping come from skipping the basics.
Watch for these issues:
- Wrong connector size
- Using the wrong die shape
- Stripping too much or too little insulation
- Partial compression
- Damaged conductor strands
- Using the wrong tool for the cable type
These are small errors with outsized consequences. A loose crimp may pass a quick glance but fail under vibration. In automotive and marine work, that kind of failure shows up later, often after the system is already back in service.
When I train beginners, I tell them to slow down on the first three crimps and inspect every one. Once the pattern is clear, speed comes naturally.
8. Real-world uses beyond basic wiring
Crimpers show up in more places than people expect. They are used in:
- Automotive wiring harnesses
- Marine electronics
- HVAC control panels
- Security systems
- Coax installations
- Industrial machinery
- Fencing and specialty sleeve work
That breadth is why the topic is worth learning properly. A crimping tool is not one niche gadget. It is part of the core toolkit for anyone working with conductors and terminations.
I have also seen it matter in diagnostics. Clean crimps reduce “mystery faults,” which means less time chasing intermittent problems and more time actually fixing the system.
For related troubleshooting patterns, Akai DR8 Storage Upgrade and Error Code 211 Marvel Rivals are unrelated topics, but they reflect the same principle: precise setup prevents downstream issues.
9. FAQs
What is a crimping tool used for?
It is used to attach connectors to wires or cables with mechanical pressure.
Is crimping better than soldering?
For many electrical and field applications, yes. Crimping is faster, safer, and often more reliable under vibration.
What are the best types of crimping tools for beginners?
Ratcheting hand crimpers are usually the best starting point because they improve consistency.
Can one crimper handle all connectors?
Usually not. Specialized connectors need the correct die, and some jobs require dedicated tools.
Do I need a tester after crimping?
Yes. A pull test and, for network cables, a cable tester help confirm the connection is sound.
What is a crimping tool used for in networking?
It secures RJ45 or RJ11 connectors onto Ethernet or phone cables with the correct pin alignment.
Conclusion
If you were wondering what is a crimping tool, the answer is simpler now: it is a tool for making secure, repeatable wire and cable connections across electrical, networking, automotive, and industrial work. Once you understand what is a crimping tool used for, the value is obvious. It saves time, improves reliability, and reduces avoidable failures.
For most beginners, I would start with a ratcheting hand tool and learn the process before moving into specialized gear. Professionals working on larger conductors or higher volumes will benefit from hydraulic or battery-powered options. Either way, the core lesson is the same: match the tool to the connector, follow the crimp profile, and verify the result.
